Your listing photos are the first showing — most buyers will see your home on a screen before they ever see it in person, and many will decide from the photos alone whether it's worth a visit. In the NAR 2025 Profile of Home Staging, roughly one in three buyers' agents said clients were more likely to schedule a showing after seeing a staged home online. Photo day is the highest-stakes two hours of your entire sale — here's exactly how to prepare for it, room by room.
What should you do before real estate photos? The universal rules
Before the room-by-room list, six things apply everywhere:
- Depersonalize. Family photos, names on walls, kids' artwork, diplomas. Buyers should see their future, not your past.
- Clear the floors. Shoes, baskets, pet beds, cords, floor fans. Floor space reads as square footage in photos.
- Halve every surface. Counters, shelves, dressers, mantels. Then style what remains in odd-numbered groupings.
- Turn on every light, open every blind. Replace burned-out bulbs and match their color temperature — one cool-blue bulb in a warm room is glaring in photos.
- Hide the daily-life equipment. Trash cans, dish racks, chargers, remotes, tissue boxes, plungers, litter boxes.
- Look through the camera's eye. Stand in each doorway and photograph the room with your phone. The camera finds clutter your brain has learned to ignore.
Kitchen
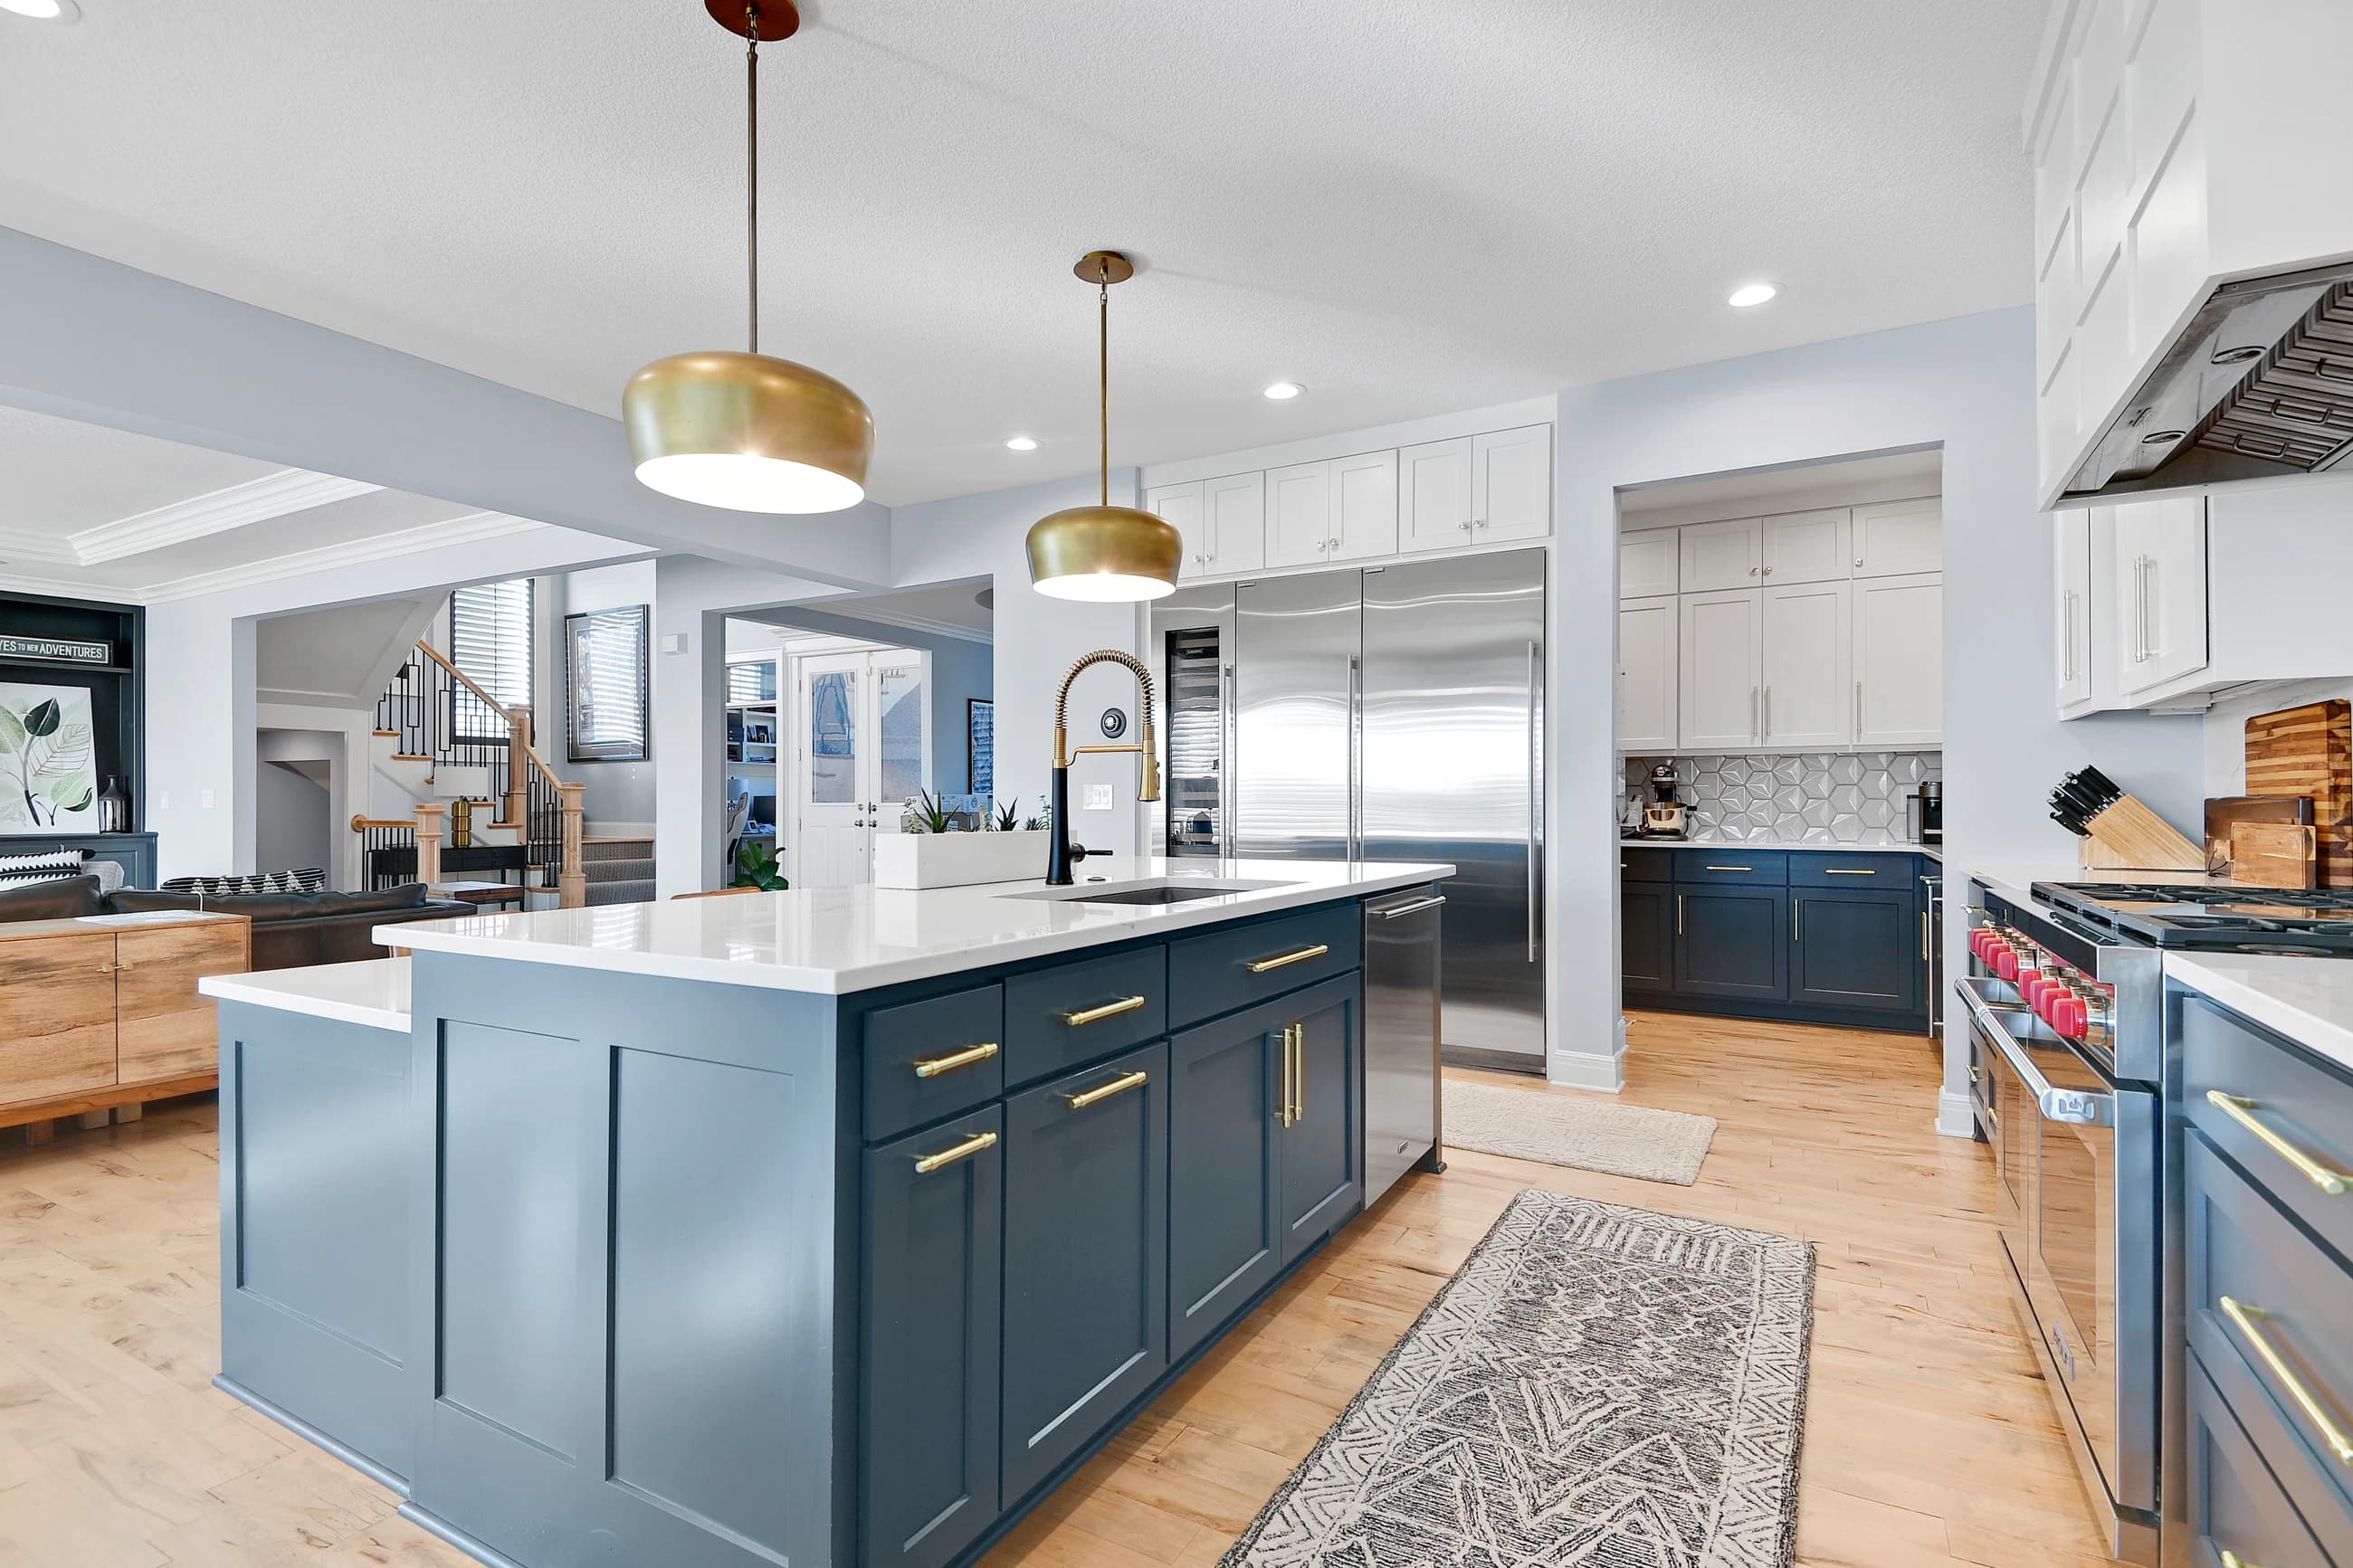
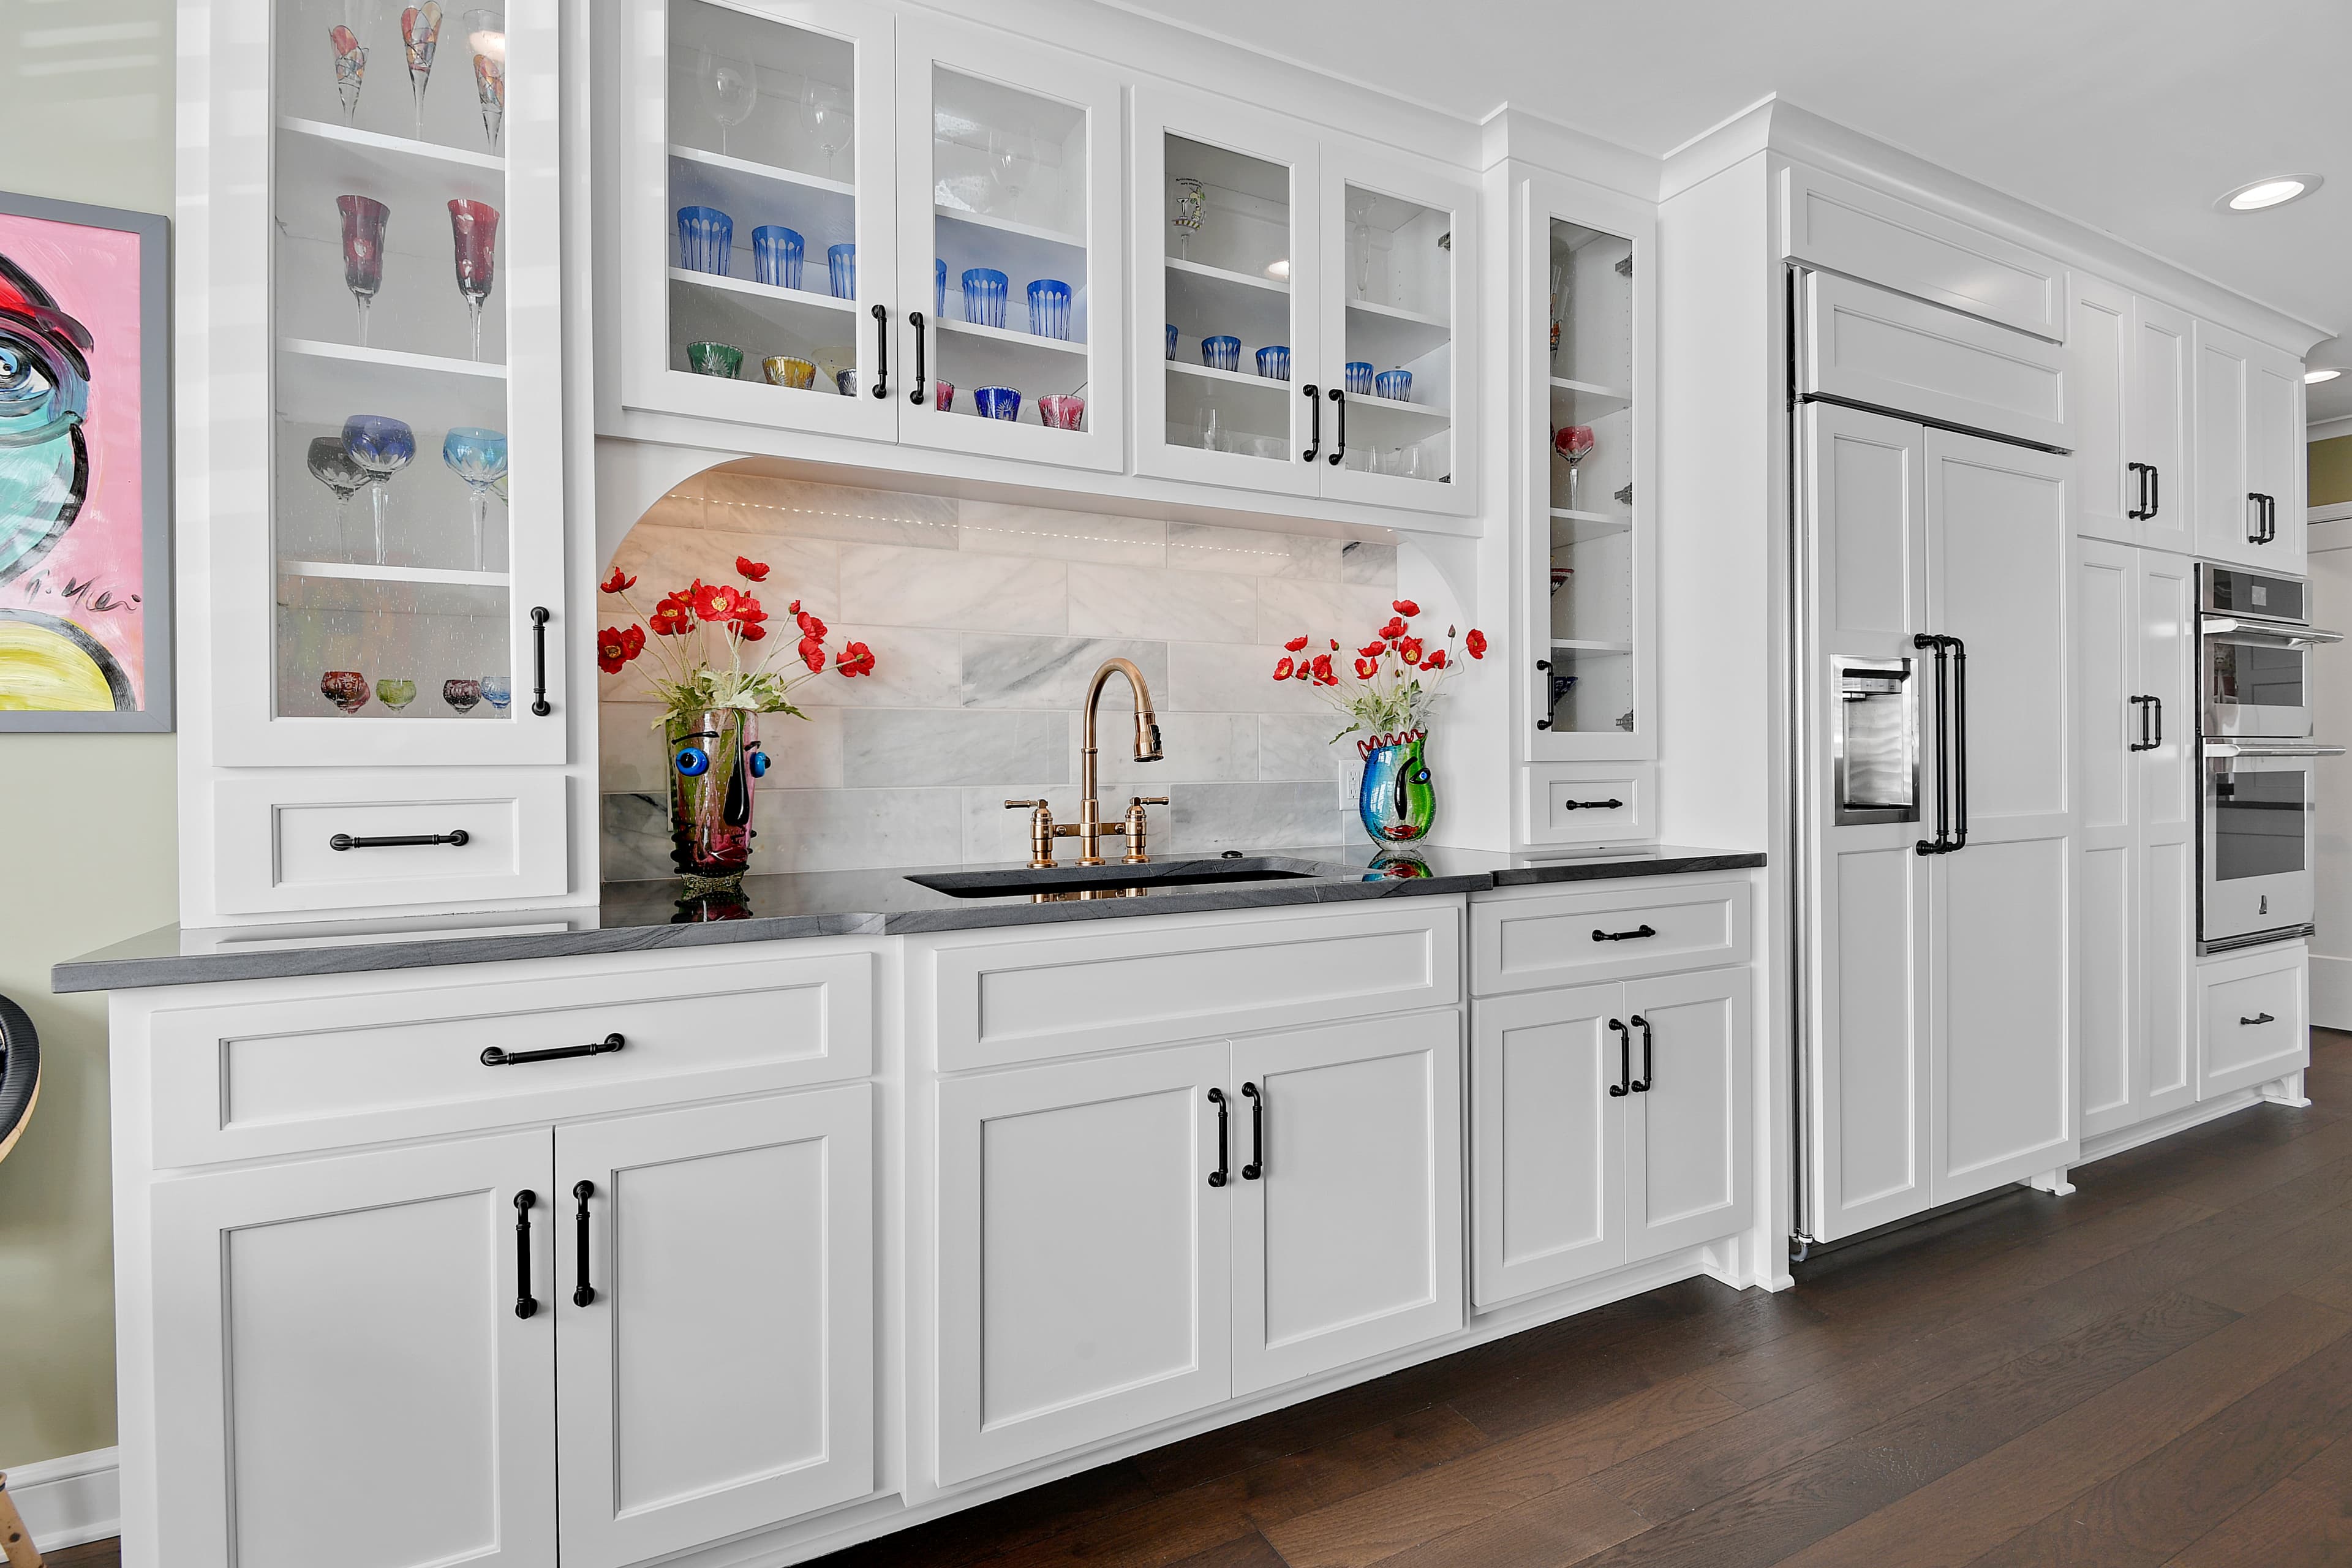
The kitchen is one of the three rooms buyers weight most, so it earns extra effort. Clear the counters down to two or three intentional items — a wood board with a cookbook, a bowl of lemons, a plant. Remove everything from the refrigerator's face, including magnets. Hide the dish soap, sponge, paper towels, and drying rack. Push chairs and stools in evenly, and if your stools are mismatched or worn, remove them entirely — an open counter photographs better than tired seating.
Living room
Photos love space and light. Pull furniture away from the walls slightly and angle it toward a focal point (fireplace or windows, not the TV if you can help it). Reduce throw pillows to a styled few, fold one throw blanket, and clear the coffee table down to a tray, a stack of two or three books, and one organic element like greenery. Remove cords and consider whether the TV should be unplugged so the screen photographs black rather than reflecting the room.
Primary bedroom
Buyers rank the primary bedroom just behind the living room in importance, per NAR — and it's often the most neglected room on photo day. The bed makes or breaks it: crisp, ironed bedding, layered with shams and two to three accent pillows, pulled hotel-tight. Clear nightstands to a lamp and one object each. Empty visible closet floors, clear the dresser top, and remove laundry hampers and exercise equipment.
Bathrooms
Bathrooms photograph best nearly empty. Clear every counter and shower shelf — every bottle, razor, and toothbrush. Hang fresh, matching towels folded in thirds, close the toilet lid (always), remove floor mats and scales, and add one small styling moment: a plant, a tray with rolled hand towels, a candle. If the shower curtain is dated or dingy, replace it or remove it to show tile.
Dining room
Style the table simply: a runner or centerpiece, nothing more — full place settings can look fussy in photos of everyday homes. Straighten chairs with even spacing, clear the sideboard, and dim any competing clutter on nearby surfaces so the table is the story.
Exterior and curb appeal
The exterior shot is usually the first photo in the listing. Move cars out of the driveway and away from the front curb, hide trash bins and hoses, mow and edge, sweep the porch, and put out a clean doormat. Remove seasonal decor and sun-faded flags. If you have patio furniture, arrange it as an outdoor room; if it's weathered, remove it.
Should you hire a professional for photo prep?
Doing everything above will put your listing ahead of most of its competition. What a professional adds is the last 10% that's hard to see in your own home: sightlines from the doorway, art heights, the exact styling of shelves and beds, and the small compositional edits photographers are grateful for. That final layer is a service of its own — our Featherlight Photo Prep is 2–4 hours of on-site styling timed immediately before your photographer arrives, at $145/hour with a two-hour minimum.
If your home needs more than styling — decluttering, furniture rearrangement, or filling empty rooms — start earlier: a consultation sequences the work, and occupied or vacant staging handles the heavier lift. For the decluttering phase specifically, we wrote a full guide: How to Declutter Before Selling.
Frequently asked questions
How long does it take to prepare a house for real estate photos?
For a maintained, decluttered home, plan a focused day: deep clean, then styling. If decluttering hasn't started, give yourself one to two weeks. Professional photo-prep styling itself takes two to four hours on the day.
Should all the lights be on for real estate photos?
Yes — every fixture and lamp, with blinds open. Confirm with your photographer, but arrive-ready means all bulbs working and matched in color temperature.
Should the TV be on or off in listing photos?
Off. A black screen photographs cleanly; a glowing screen dates the photo and pulls the eye.
What should you not do before listing photos?
Don't shove clutter into closets buyers will open at showings, don't leave cars in the driveway, don't forget the toilet lids, and don't schedule photos before the staging work is finished — photos can't be un-taken, and re-shoots cost money.
Hummingbird Staging & Interiors offers photo-day styling, consultations, and full staging across Olathe, Johnson County, and the Kansas City metro. Photos scheduled? Get on the calendar.